BACK
How to Debone Smoked Whitefish
By: Acme Smoked Fish

Smoked whitefish is a culinary staple to most smoked fish fans. Smoked whitefish salad, the Acme Smoked Fish classic and one of our most popular products, is a whitefish preparation familiar to many. Our smooth and creamy smoked whitefish salad makes for an easy snack or meal when served on a cracker, sliced vegetables, toasted bread, or when schmeared on a bagel.
Whole smoked whitefish on the other hand can come across as a little less approachable (as much as it makes for an impressive edible centerpiece on any table). Perhaps you have seen these whole smoked fish stacked high in the showcase of your favorite deli, appetizing store, or fish market. Head-on, fins-on, bones, skin, and all… what do you do with all of that fish? Well, we’re here to teach you how to debone a whole smoked whitefish yourself, so you can impress everyone at your next smoked fish brunch.
Step 1: Remove the fins
Using your hands or a pair of kitchen shears, remove the fish’s fins. You can leave the tail (or caudal) fin on or off as removing this fin is optional.
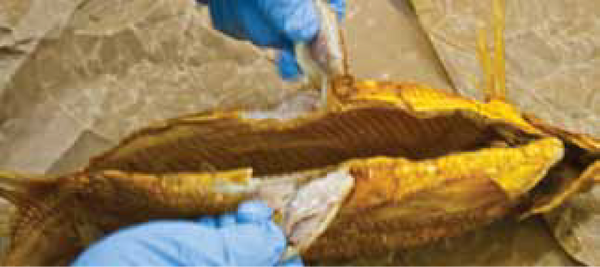
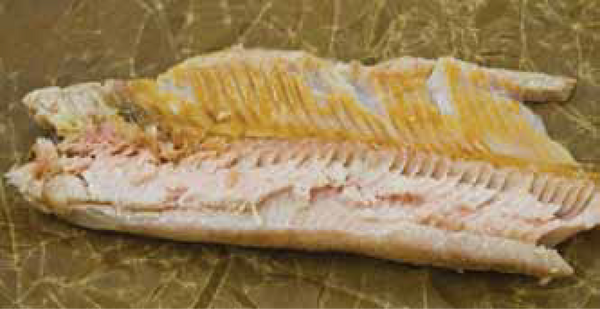
Step 2: Make an impression along the spine
Even though we call these fish “whole whitefish” a little bit of the breakdown work is done prior to smoking, as the organs are removed. This leaves a large cavity on the belly side of the fish. Using your fingers, make an impression along either side of the spine, butterflying the fish slightly and separating the rib bones from the backbone.
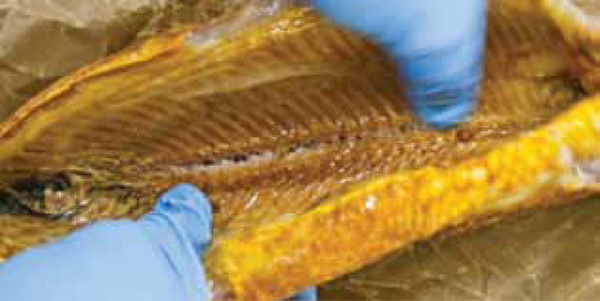
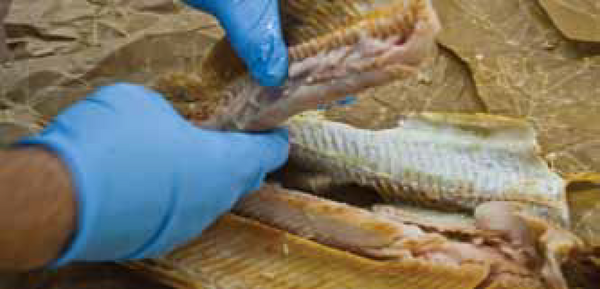
Step 3: Remove spine and pin bones
With the spine separated from the rib bones, proceed to remove the spine starting at either the head or tail end of the fish. Work your way down the fish removing the spine as you go.
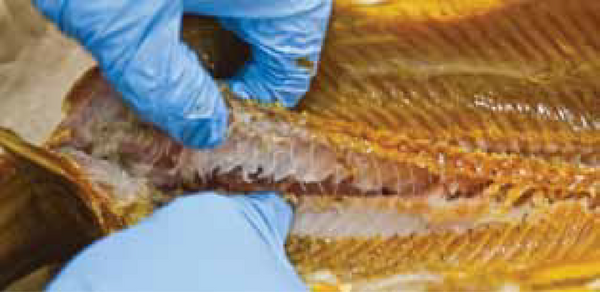
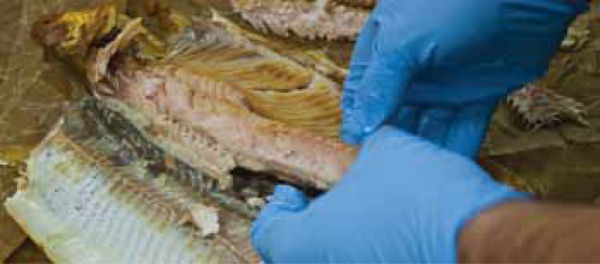
Step 4: Remove belly membrane and rib bones
Along the flesh of the fish inside of the belly cavity, there is a thin membrane that lines the rib bones. This membrane and the rib bones can be removed together by carefully peeling both away from the belly meat of the fish as shown.
Step 5: Remove any additional pinbones
After you have removed the belly membrane and rib bones, inspect the area along where you removed the spine in Step 3. If there are any remaining pin bones, remove them.
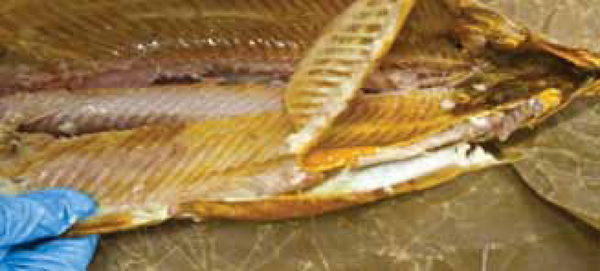
Step 6: Remove the belly fillet
At this point remove the belly (the thinner portion of meat on each side of the fish) from the rest of the fish and skin as shown.
Step 7: Inspect for bones
Inspect the portion you just removed for any lingering pin or rib bones. You can never be too careful!
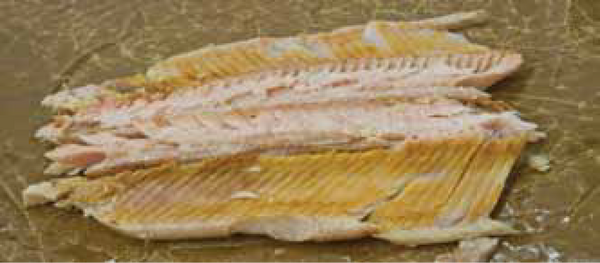
Step 8: Remove the back fillet
You will see that a thicker portion of the fillet remains on the side of the fish where you just removed the belly. Slowly remove this portion from the rest of the fish and skin.
Step 9: Repeat Steps 6-8 on the other side and enjoy!
Now that you have the meat from one full side of your smoked whitefish removed, repeat steps 6-8 on the other side of the fish. After this, give your fish one last inspection for any straggling bones. Now, it’s time to eat!
After a little practice, you’ll be an expert at this process, and will impress all of your friends and relatives with your slick smoked whitefish deboning skills. Smoked whitefish is a great place to start when learning to debone the various whole smoked fish that Acme produces in our Brooklyn smokehouse. Once you have deboning smoked whitefish down pat, you can move on to smoked cisco, and then smoked trout, and keep on going to smoked whiting.
We hope you found this little DIY tutorial helpful and informative. If there is anything else that you would like to learn from your friendly fish experts at Acme Smoked Fish, please don’t hesitate to reach out to us via email or social media. We love hearing from our fish friends, and if you haven’t gathered this yet, talking smoked fish is kind of our thing.